Holiday Tree D-I-Ys: Decorate it yourself!

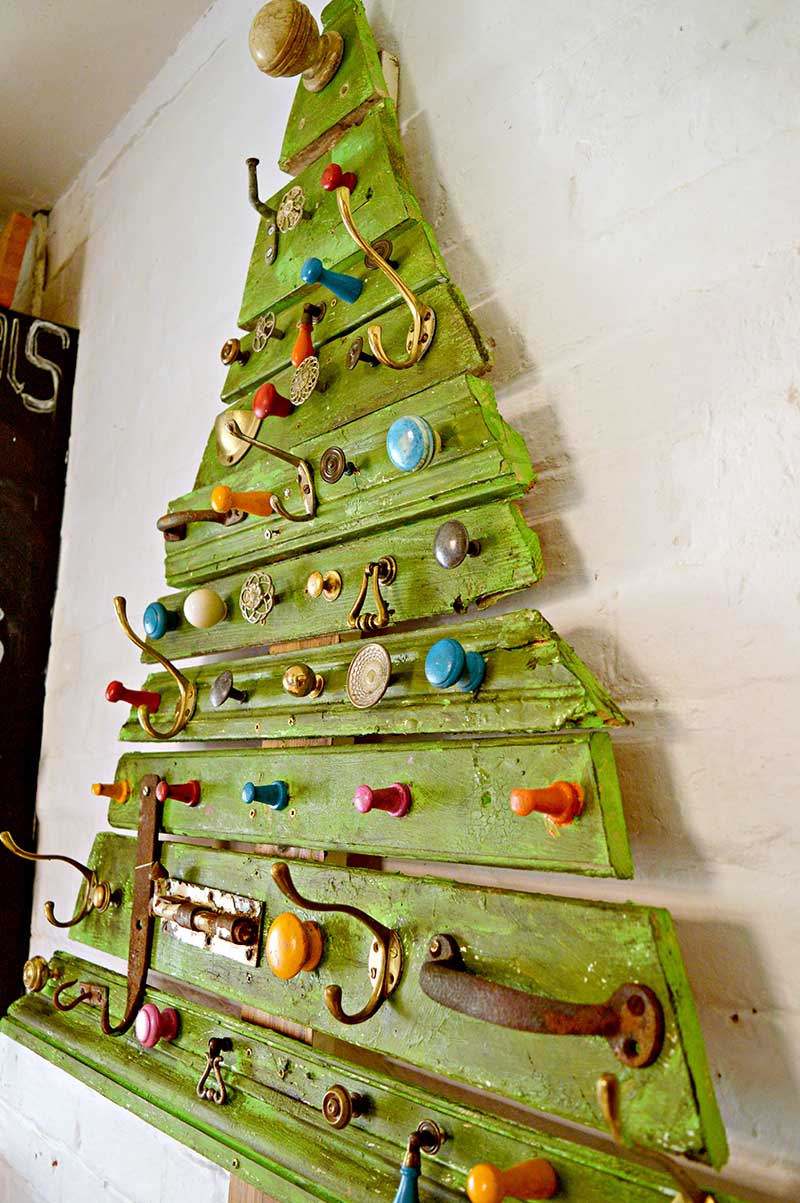
Wooden Christmas Tree
Do you have old handles and knobs gathering dust or an old dresser gathering dust? This fun DIY can upcyle and brighten your holiday today.
Materials Needed:
- A piece of wood for the tree trunk, about 4 inches by 4 feet.
- Antibes green chalk paint
- Spray paint in various colours – or any left over paint in various colours
- Dark furniture wax
- Crackle medium
- Reciprocating saw (or handsaw)
- Drill
- Wood screws
- Screwdrivers
- Copper string lights
Here’s How:
- The first thing to do is to gather up all your wood scraps and lay them out on the ground to work out how the Christmas tree will look. Put the smaller pieces of the wood at the top.
- To achieve a typical Christmas tree shape using a sharpie, mark where you will need to saw your wood planks. So that the ends slope. Use your saw to along along the lines.
- Before screwing your Christmas tree together paint the wood. However, before painting, you can brush a Crackle Medium onto the wood to give a more rustic finished look to the wood.
- Prepared the knobs and hooks, by scraping away any excess rust from the metal painting the wooden ones.
- The placement of the knobs and hooks may look random but they weren’t quite. Lay the painted wood branches down on the ground and then place the knobs and hooks where you think they look best. Then taking one branch at a time, screw the knobs and hooks into place.
- Lay the trunk flat on the ground and starting with the top, one by one screw the branches of the Christmas tree to the trunk, 2 screws per branch.
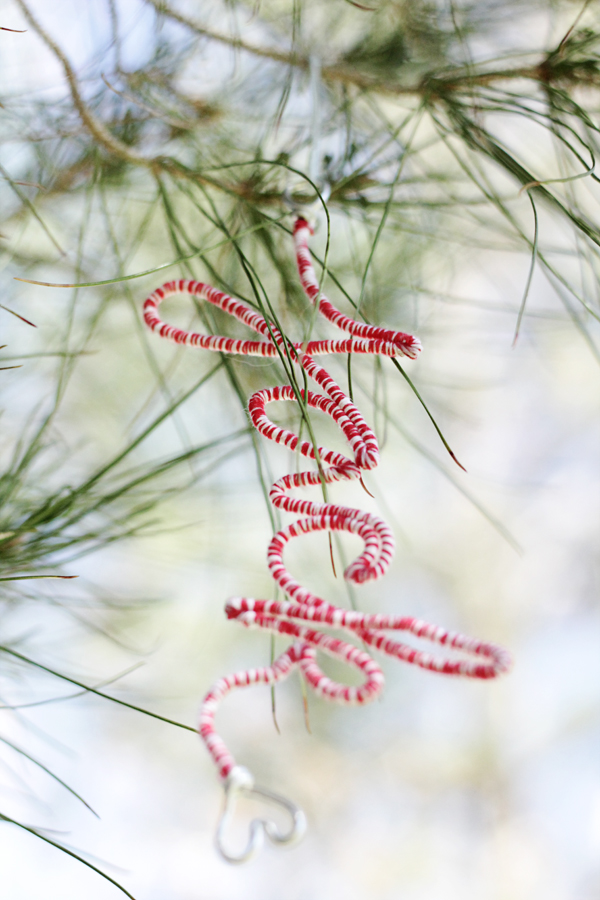
Wire Craft Ornaments
Add a personal touch to any gift or to your holiday tree with this simple and quick DIY.
What You Need:
- 12-gauge aluminum jewelry wire
- Baker’s twine or yarn
- Super-glue adhesive
- Pliers with cutter
What To Do:
- Write or print out in lowercase cursive the name you’ll be making into craft ornaments. Cut a piece of wire long enough to “write” out name. Better to cut too long a piece than too short!
- Begin by making a loop at the beginning of the name with the wire and then follow the lines to make each letter. Use your pliers to pinch tight corners and hold completed letters in place with tape.
- Finish off name with a sweet little heart!
Note: For names with “T” or “X”, you’ll need to add a small piece of wire to complete your letter. Wrap a small piece of wire around the existing wire and secure with a drop of glue. - Tie a basic knot at the top of the name, closest to the loop and secure with a drop of glue.
- Continue wrapping the yarn or twine tightly around each letter until the entire name is filled. As you can see in the picture, you’re going to have to unbend some of the tight corners to get the yarn/twine in there. Use the glue to help the yarn/twine stay in place in these tight corners. Just watch out you don’t glue your fingertips!
Note: Again, for names with “T” or “X”, or any letter that has a separate section, wrap all the way up to the section and then pull the yarn/twine to the end and wrap downward toward the center. Repeat for the bottom half of the line — check out the picture for a good example. - Finish off with a basic knot tied close to the base of the heart. Add a drop of glue to make sure the yarn/twine is secure and your new personalize craft ornaments are done! Now the fun part begins.
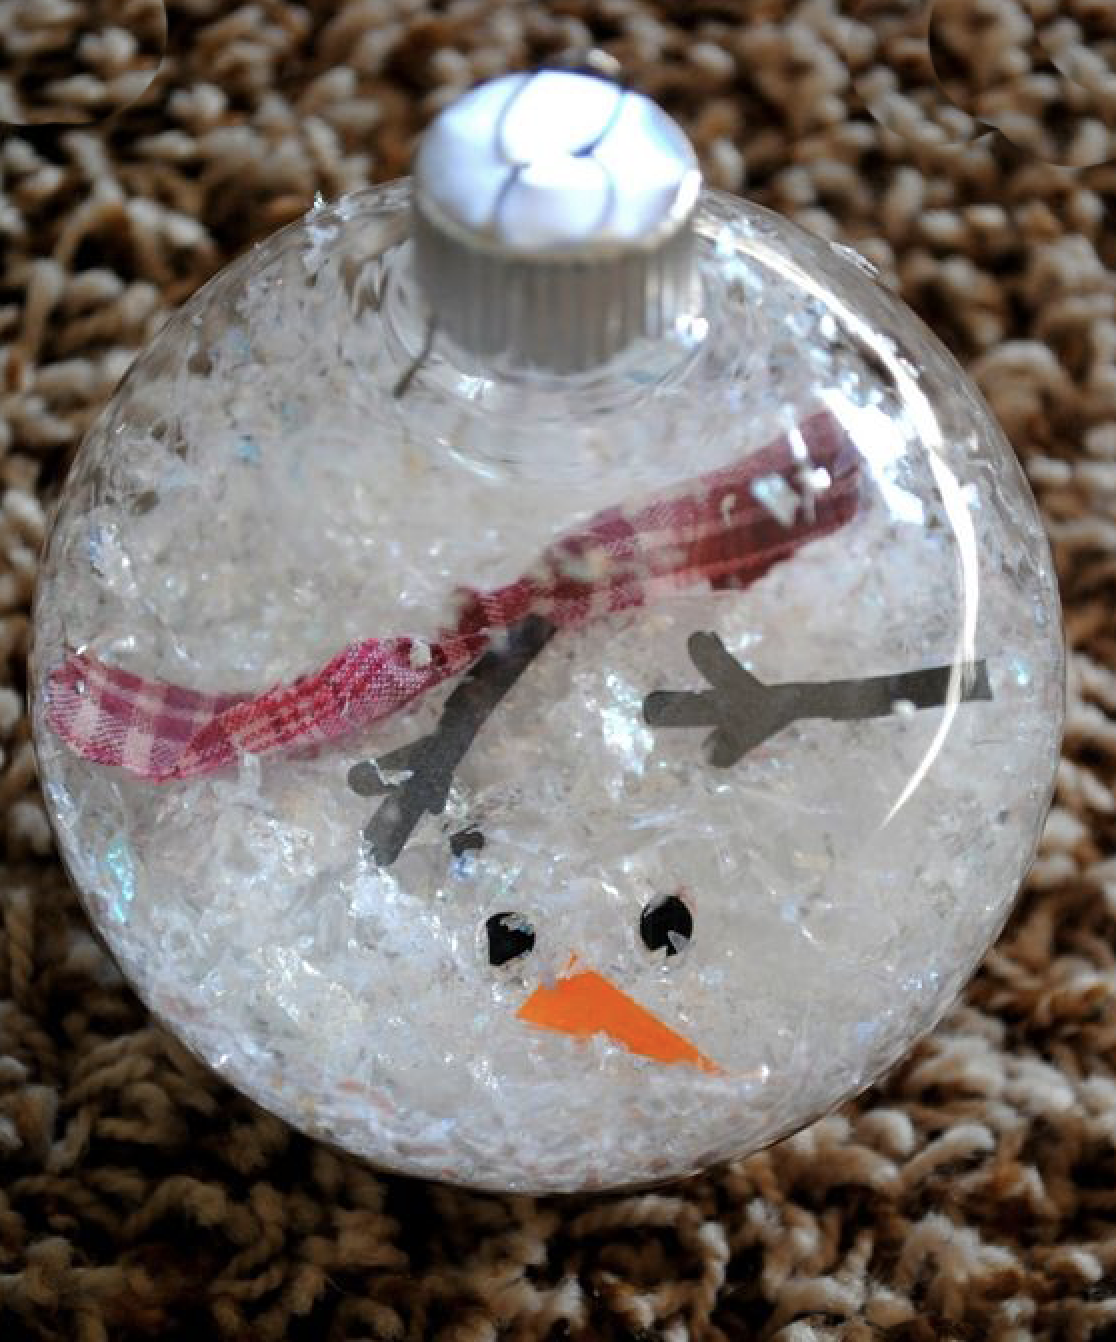
Melted Frosty Ornament
Baby it’s HOT outside! Create this cute time honored ornament and add instant fun to your tree or holiday decorations!
What You Need:
- Clear bulb with screw off top.
- Fake snow or shiny shredded paper
- Constructed nose, eyes and twigs from construction paper
- Small cloth for the scarf.
What To Do:
- Carefully take the top off of the bulb
- Add your snow, and snowmans body and accessories
- Add back the top of the bulb.
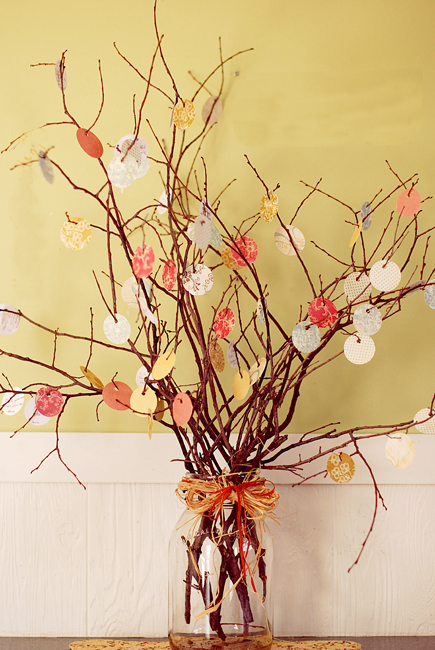
The Thankful Tree
It’s never out of season to have a thankful tree to enjoy. Try this easy DIY with your family.
What You’ll Need:
- Jar
- Sticks
- Scrapbook paper
- Hole punch
- Ribbons, for extra beauty
- Grateful hearts
How To:
- Arrange your sticks in the jars and decorate with tags or grateful hearts, displaying your thoughts.
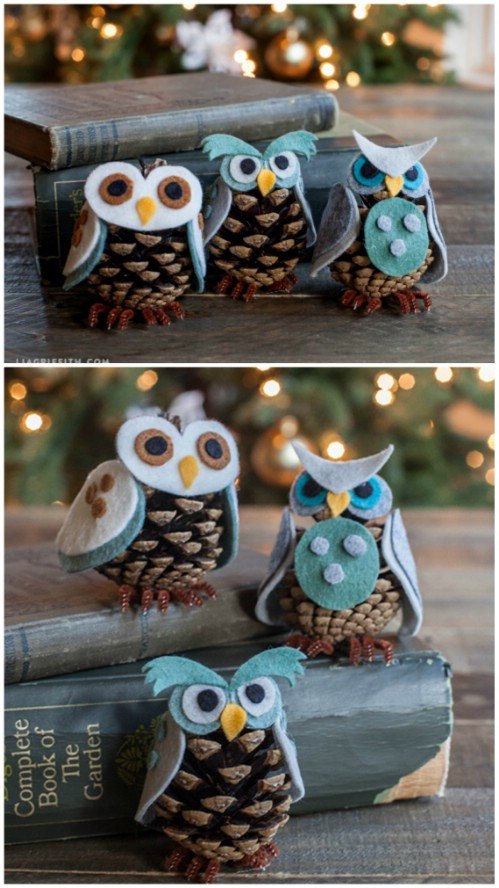
Owl Ornaments
Here is a cute way to bring nature into your holiday decorating.
Materials:
- Blue, black, orange felt (or other colors you like)
- Brown pipe cleaner
- Pinecones
- Glue Gun
Here’s How:
- Gather your materials
- Trim the pieces of felt to form wings, beak, eyebrows and eyes.
- Glue face and wings
- Glue faces and wings onto pinecones
- Make feet from thin pipe cleaner
- Glue feet onto base.
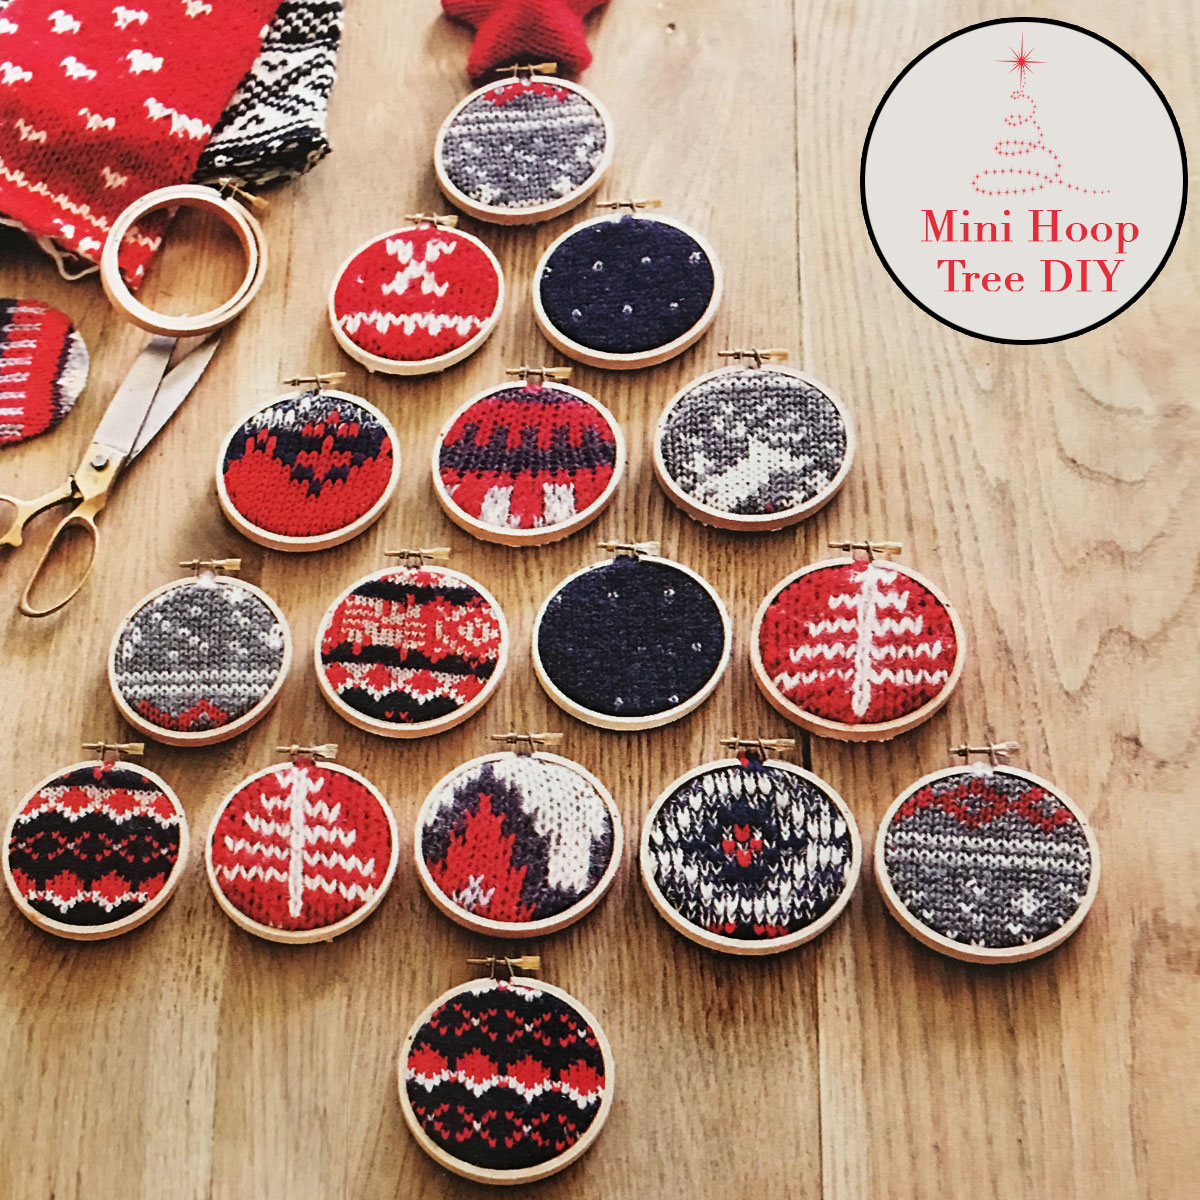
DIY Holiday | Mini Hoop Tree
If you are limited by space or looking to add a little more holiday spirit to your walls this is a super simple craft that the whole family can help with.
What You Need:
- Old sweaters cut into mini remnants
- Mini hoops
- Tree topper decoration (Star is optional)
What To Do:
- Cut out display worthy areas of the sweater and pull pieces tight into the hoop. Trim the edges as needed and add ribbon or thread to hang the hoops on the wall.
Before you get started, be sure to help America’s 
Holiday Book Tree
Are you a book lover and limited on space? Here is a fun DIY that brings together your love of reading and holiday spirit all in one for a beautiful view worthy of a happy Christmas ending!
Supplies needed:
- Books of all shapes and sizes
- twinkle lights
- tree topper
- sturdy base
What To Do:
- Stack your books as you would like
- Layer on your Christmas lights
- Decorate as you would like!
PS — Don’t forget that when you schedule your free donation pickup today (for a later date) you’ll be helping America’s veterans! 
Pinecone Holiday Tree
Spruce up your home with these super cute Pinecone Holiday Trees.
Materials:
- Pinecones
- Green spray paint
- Old wine corks
- Scissors
- Hot glue gun and glue
- Miniature wooden stars
Here’s How:
- Spray paint the outer edges of the pinecone with green spray paint. Make it look like a real tree by leaving the inside brown. Let the paint dry.
- Cut a wine cork in half and hot glue it to the bottom of the pinecone. Let the glue dry.
Hot glue the star to the top. Let it dry. Then enjoy!
America’s Best Donation Pickup Program


