Decorations done right by you!
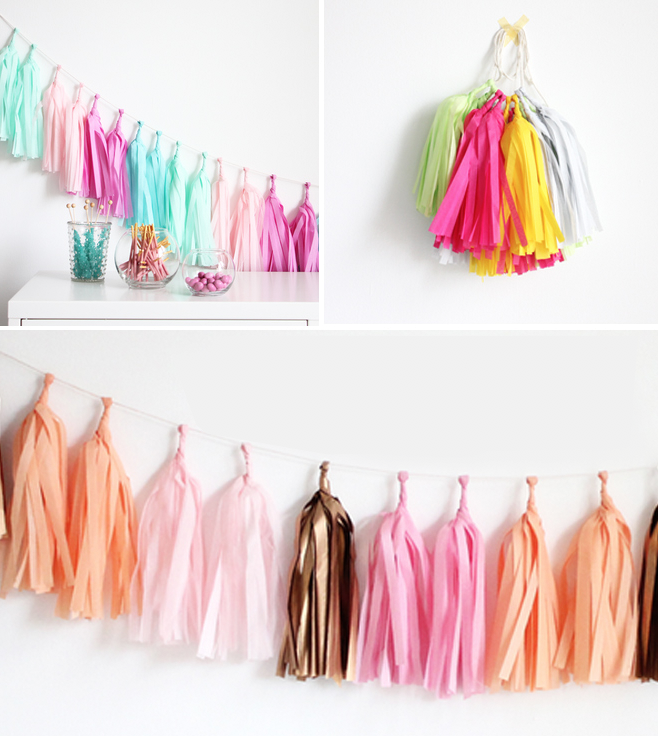
Make Your Own No-Fuss Tassel Garland!
Spice up your parties with these fun tassels!
What You’ll Need:
- Tissue paper
- Scissors
- Glue gun
- Cord (or ribbon or twine to string tassels on to)
How To:
- Fold tissue paper lengthwise
- Fold widthwise
- Fold again lengthwise
- Cut paper (Not on the folded side)
- Unfold
- Cut down the middle
- Open the paper
- Roll the paper
- Twist into a loop and glue
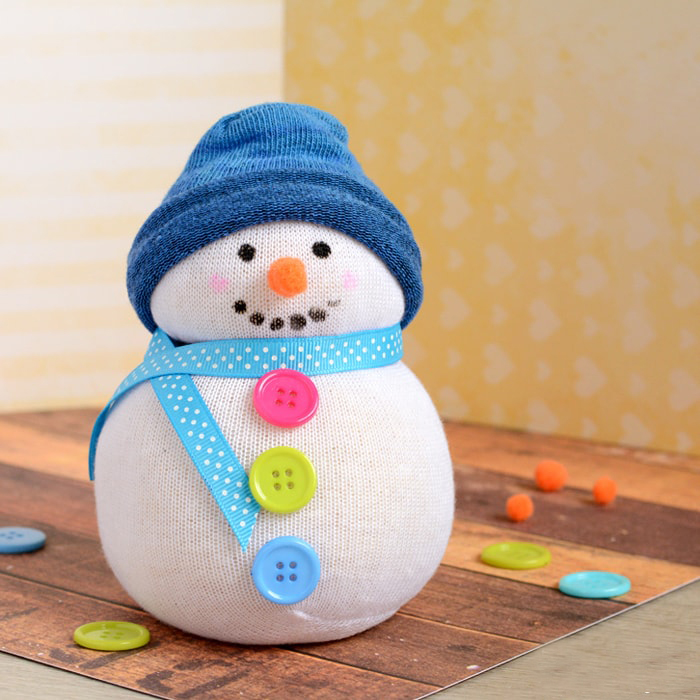
No-Sew Sock Snowman
No sew, no problem! This cute little snow friend is as easy as 1..2…3!
What You Need:
- 1 white sock
- 1 sock in color for the hat
- Rice
- Rubber bands (or thread)
- Colorful buttons
- Ribbons
- Glue gun
- Markers or paint
- Orange pom poms
What To Do:
- Start by filling your white sock with rice. You will need a hefty amount (You’ll be surprised how much rice can go into one sock).
- Once you are happy with the amount (and size) of your sock snowman tie the top with the rubber band.
- Take another rubber band and place in the middle – more to the upper side – of the rice filled sock to form the head shape.
- Now glue the buttons to the bottom side by using a glue gun (glue dots do a fairly good job too).
- Draw the mouth and eyes with a black marker or with black paint.
- Add pink cheeks (Crayola washable paints work great). Make the nose out of two orange pom poms.
- Add a ribbon for the scarf – You can cut off excess white sock (or you can tuck it in the hat we will be making next).
- Cut the colored sock (cut the foot part, without heel). Roll it a bit and place it on the head of your snowman. You can leave it as it is or you can secure it with some glue.
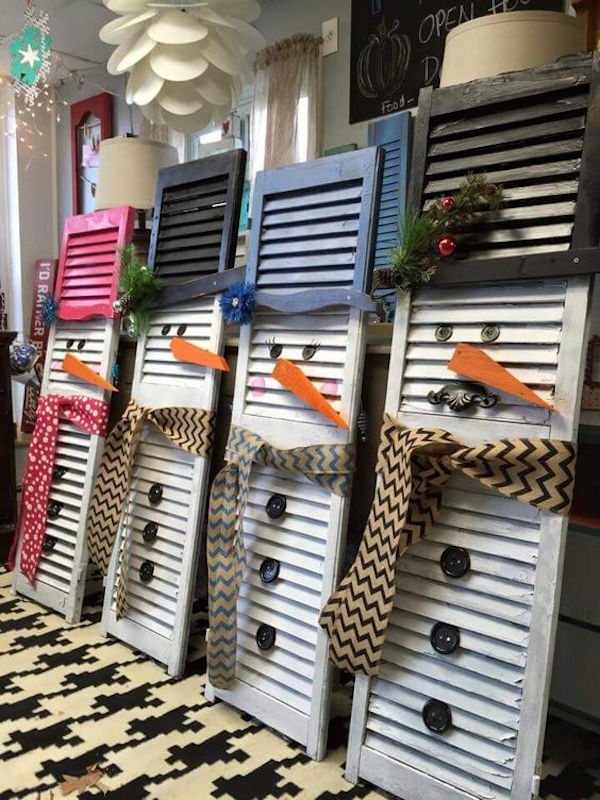
Closet Snowmen
Take your old closet doors and add some holiday spirit to your front door!
What You Need:
- Slatted closet doors
- Black and white spray paint
- Burlap fabric
- Christmas pick
- Wood chip (for nose)
- Orange acrylic paint
- Buttons
- Wood glue
Here’s How:
- Paint your shutters white;
- Paint the top portion black for the hat;
- Add the buttons for the eyes and belly;
- Attach with wood glue the nose;
- Tie the burlap scarf.
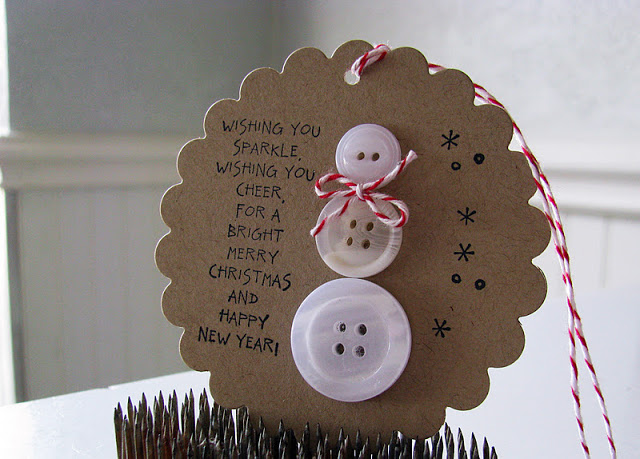
Vintage Button Snowman
Take your retired buttons and make them new again with some holiday flair!
What You’ll Need:
- Craft card stock
- Buttons
- String
- Glue
- Permanent Fine Pen
- Cut out some medium sized scalloped circles Glue the buttons on to form the snowman.
- Add a little red and white baker’s twine for his bow
- Use the fine tip point marker to make the sweet flakes and sentiment.
- Punch a hole at the top of the scallop and thread another piece of twine through for the hanger.
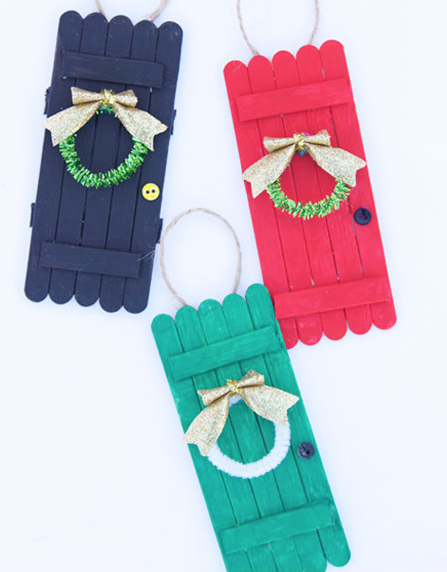
Popsicle Stick Door Ornament
Decorate your tree with these simple and fun DIY’s ornaments.
Materials needed:
- Popsicle sticks
- Pipe cleaners
- Small bows or ribbon
- Hot glue gun
- Craft paint
- Twine
- Small buttons
What To Do:
- Begin by lining 5 popsicle sticks up.
- Take 2 popsicle sticks and cut them to fit across the 5 that are lined up. Hot glue them in place, at the top and bottom of the door. (If your door needs a little more stability, you can add another horizontal piece of popsicle stick to the back.)
- Paint your popsicle sticks using a few coats of craft paint and allow it to dry completely.
- Form a 2-3 inch pipe cleaner into a circle for the wreath. Attach a bow to the top.
- Using hot glue, attach the wreath to the front of the door.
- Add a small button for the doorknob.
- Glue a loop of twine on the back of the door for the ornament hanger.
- Have fun choosing different wreath and paint color combinations!
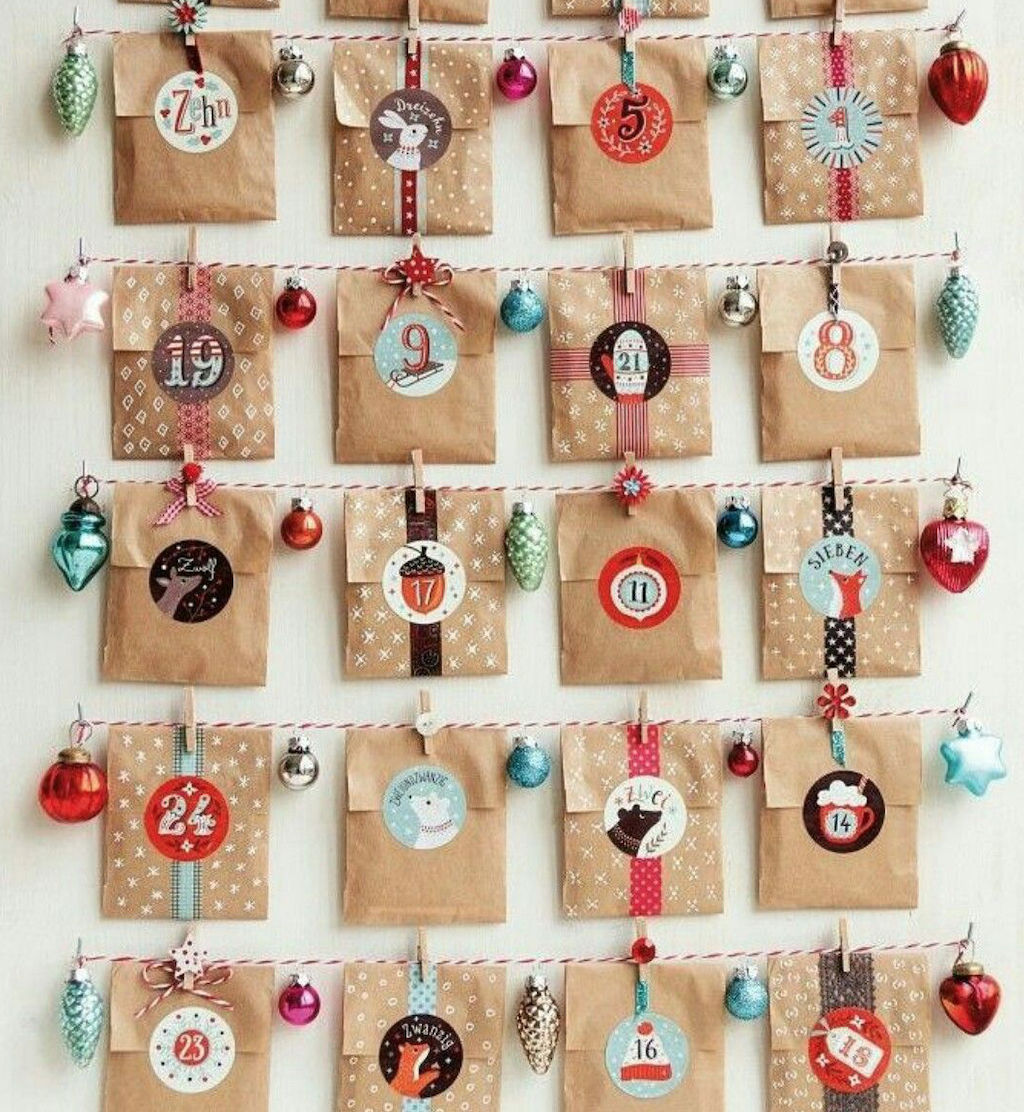
Advent Calendar
Spice up your countdown to the holiday celebrations.
Materials:
- Festive string
- Holiday stickers
- Small paper clips
- Holiday decorations
- Small brown bags
- Goodies to fill bags
Here’s How:
Attach your strings to your wall and then anchor your bags to the string. Add your decor and start the countdown!
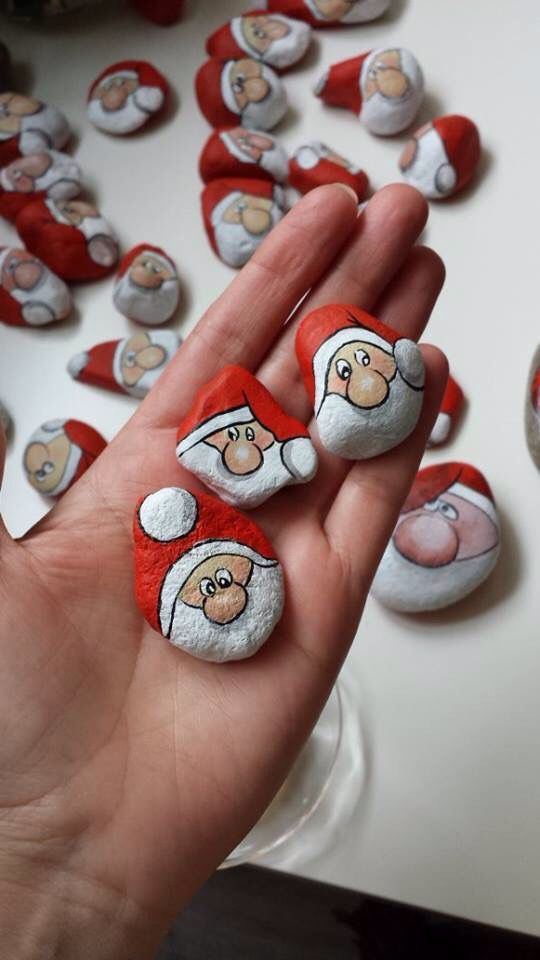
Santa Wishing Stones
Add some holiday spirit this year with these unexpected wishing stones.
Materials:
- Red, peach, black and white paint.
- Stones
- Paint brushes
Here’s How:
- Let your creativity soar with your faces while you paint them.
- Once dry share the fun in unexpected places.
Pom Pom Branches
Bring the fall inside with this colorful project that will last through Christmas!
What You’ll Need:
- Faux gold branches
- Pompoms of all colors
- Hot glue
- Vase or bucket to hold branches upright.
How To:
- Start with a dab of glue on the tip of the branch.
- Now stick a pom pom on it with your glue gun.
** Tip to remember: If you find yourself with a bunch of glue strings, wait until you finish all the branches, bundle together, then hit them with a hairdryer for 20 seconds. The strings disappear.
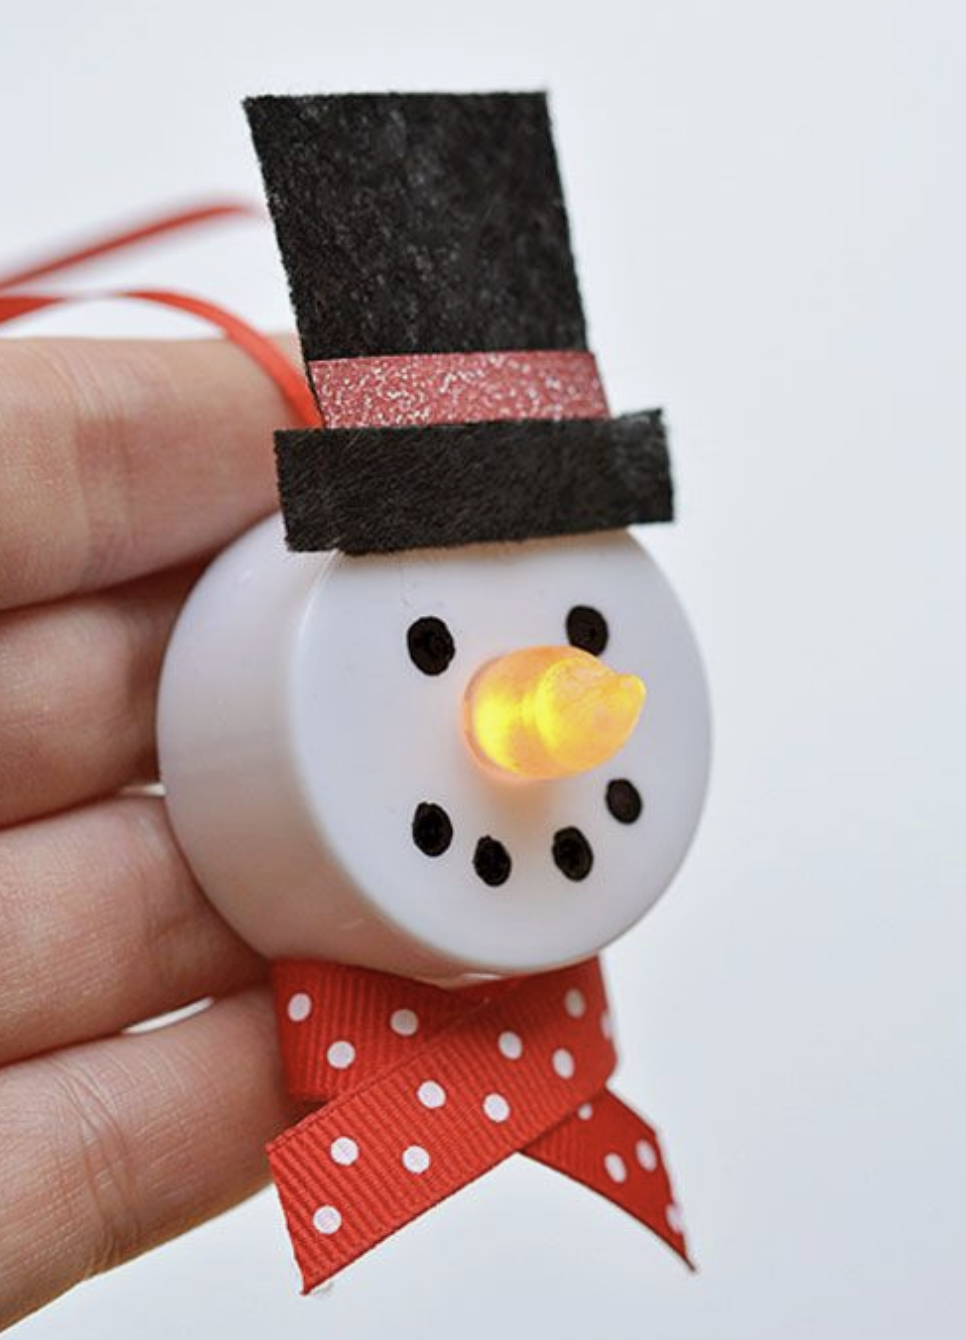
Light Up Snowmen
Let’s lighten your holiday spirit and tree with this super cute snowman tea light decoration.
All you need is:
- tea light
- black & orange paint paint
- ribbon (bow)
- red poof ball
- ribbon for the bow
- Black and red paper for hat
- glue
Lets begin:
- Start by cutting out the hat and accessories for the snowman
- Using the paint, paint the eyes and mouth with black and the nose (flame) with a light orange color.
- Assemble and glue and your all set!
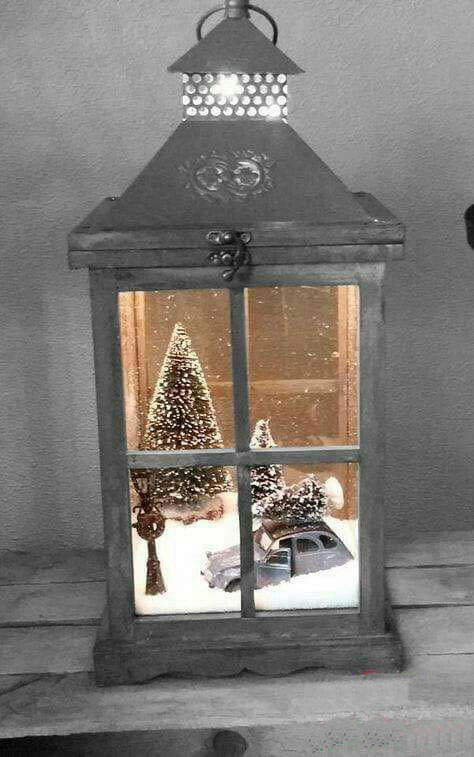
Holiday Lantern
Light up your home with this easy and memorable way to keep special holiday treasures safe while sharing with others!
Supplies needed:
- Large flat bottom vase or lantern
- Decorations
- Fake snow
What to Do:
- Begin by placing your fake snow and landscape down. Continue with your decorations.
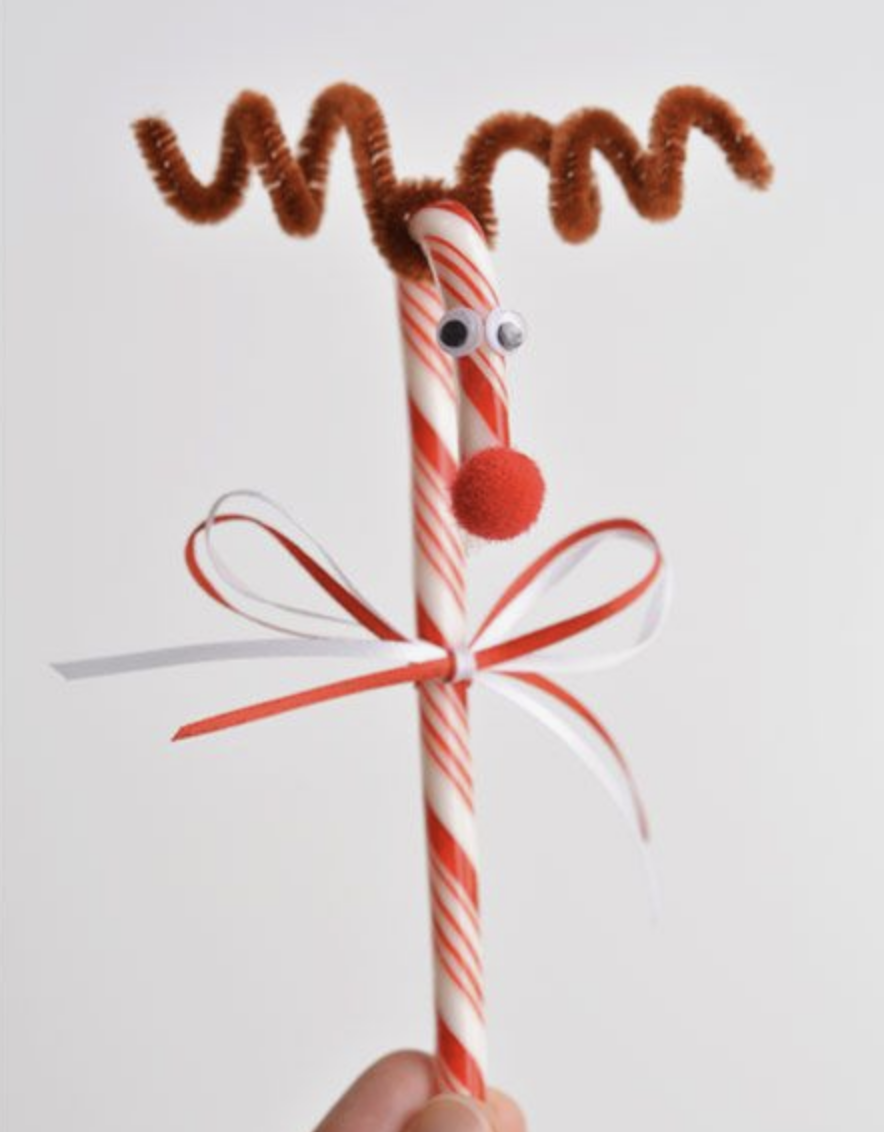
Reindeer Candy canes
Do you remember how fun it was to receive a reindeer candycane? Why not pass on this tradition?
All you need is:
- candy canes
- brown pipe cleaners
- jiggly eyes
- red poof ball
- ribbon for the bow
- glue
- Assemble and enjoy!
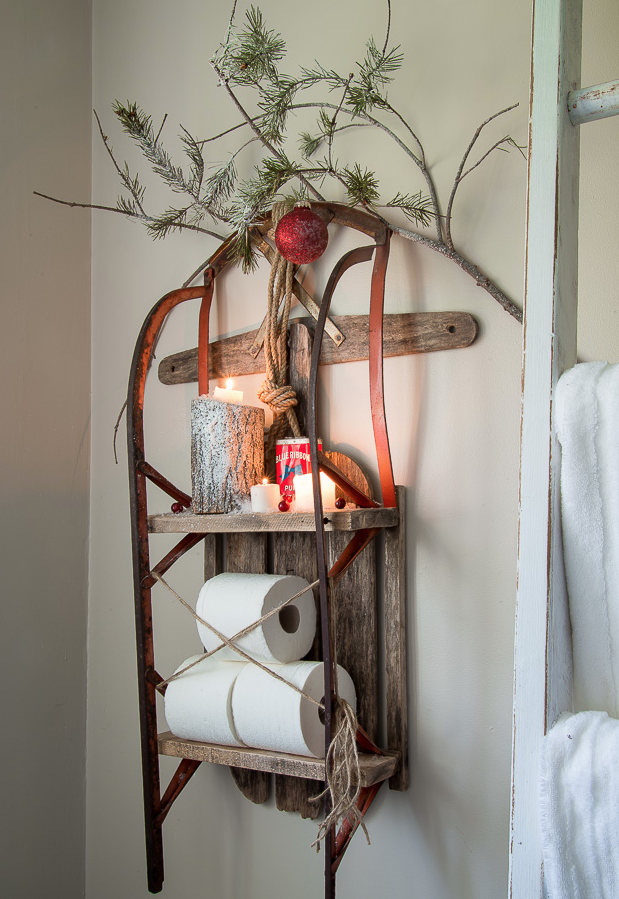
Snow Sleigh Shelf
No matter if you are wishing for a white Christmas or enjoying a sun, sand and beach filled holiday this is an easy way to bring in the fun of winter without being in the cold!
Supplies Needed:
- Antique sleigh of your choice
- Remnant wood for shelving
- Paint of wax for the wood finish
- Nails or Screwdriver for placement of shelves
What To Do:
- Started with a couple of pallet wood planks cut to size of your sleigh.
- Wax and finish them as you see fit and style.
- Using a power tool insert a self adjusting screw into the wood shelf
- Hammer into place to safely remove any sharp edges.
- Hang and enjoy!!
America’s Best Donation Pickup Program


